How to add IOS in GNS3 No router has been configured you must provide your own router images in order to use gns3
In this article I will show you how to add IOS in GMS3. Gns3, a network simulator uses real Cisco IOS. There are some other famous network simulators like packet tracer but these simulators are programing base. Using Gns3 you can use the different network device like routers, switches and firewall in virtual environment with real Cisco IOS image. With newer version of GNS3 you can use juniper router as well.
For creating any network lab in gns3 you are required IOS. Following are the recommended IOS for Gns3 which are consider as most stable and reliable for virtual network environment.
- Cisco c3640
- Cisco c3660
- Cisco 2900 series images
- Cisco 3700 series (3745, 3725)
- Cisco 7200 series IOS images
How to install IOS Image with GNS3:
You are required the following steps for add IOS Image in GNS3:
- Download the cisco IOS Image from internet, simply googled it and you find different results. You can download it from you real cisco device via TFTP and run it on GNS3.
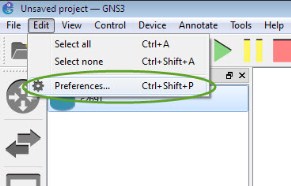
- Open the GNS3 and go to edit/preferences.
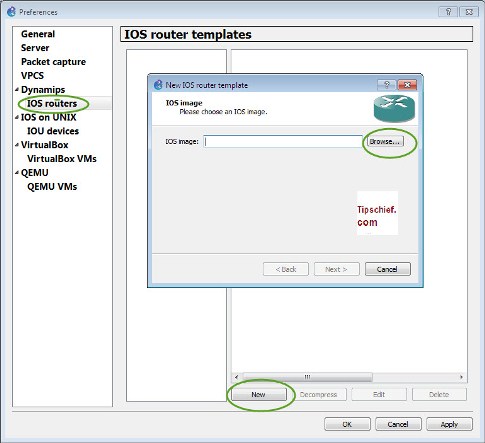
A new console will be open from left side under the Dynamips menu click on IOS router tab click on new.
- Now it asked you to browse the cisco IOS image.
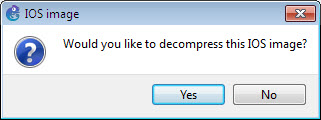
- It may asked to compress the image, click on yes.
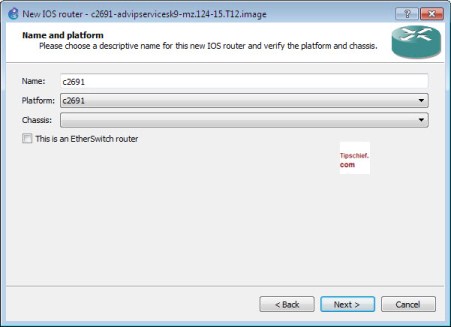
- Select the platform or series of your IOS image, normally it pick up automatically but you can also select manually.
- Allocate the RAM for your Cisco device in next step. Set at 256MB for better result. But if you have lower RAM then you can change it accordingly.
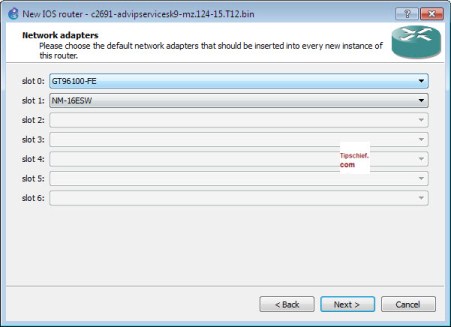
- Select the default interface types, these interfaces will be added to your device automatically when you use this device in GNS3. You can also change the interface in GNS later.
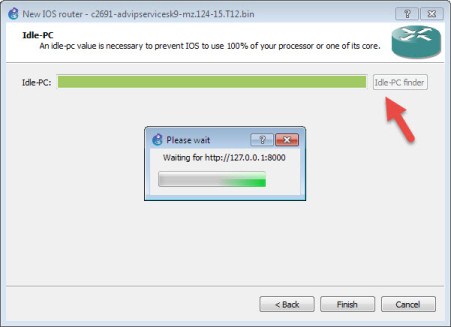
- One important thing while using adding IOS in gns3 is idle pc value. Click on the idle PC value for select it. You can also change it later. This idle PC value will minimize the CPU usage of your computer. In this way you can use the multiple routers efficiently.
- Now click on finish and then click on After this you will see your router in left side of gns3 router section
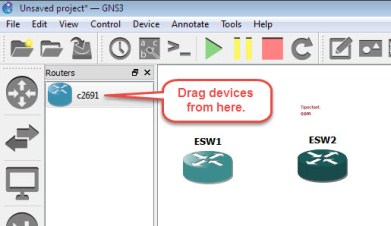
- After adding IOS image in GNS3, click on router sign and drag the router on dashboard. And now you can play with your router. If you are new to gns3 then you can visit the beginner guide here: how to use GNS3 1.3
I hope this is informative for you and I would like to thank for reading this article.
Pingback: 7200 series Gns3 IOS images for Router Tips & Quiz
Pingback: Layer 3 3725 Switch IOS image For GNS3 Tips & Quiz